
The sun shone and there was a gentle breeze. An almost perfect weather window for fitting a HUGE sheet of polythene to a polytunnel.
First fitting…
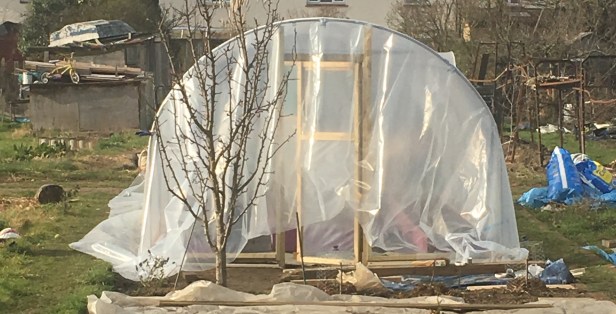
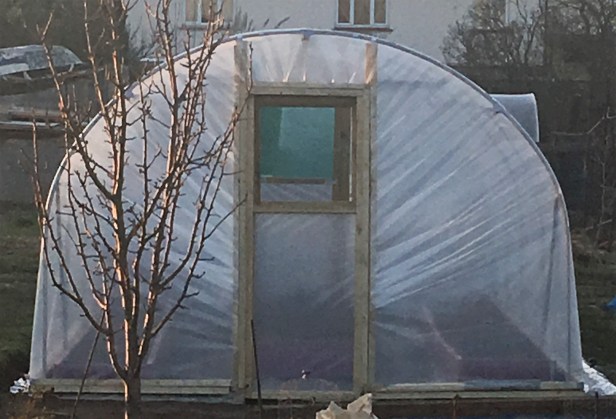
Pleated and battened, finished some hours later…
This is Billy wondering if I’ve forgotten his dinner time!

Couldn’t have done it without help from my two sons and several plot neighbours.


That looks wonderful! What a great job – I now have allotment envy….
Thanks Ruth, it only took six months!
You’ll wonder how you managed without it in a while. I used to have one at my parents’ home.
I had one at the old plot but this has three soil beds and is wider and longer than the old one. Can’t wait:)
Well done, it’s looking good. I like the picture of Billy. xx
Thanks Flighty
Wow that is seriously impressive. I am deeply envious! Will watch with interest to see what crops you get in there.
Thanks. The instructions don’t mention anything about the 3 pairs of hands needed to pleat and batten the poly around the doors! I’ll be writing about my crop plans soon.
Great to have that job out of the way. What are you going to grow in it?
Thanks Helen. Long list of things! mostly I want to extend the season
That would be fab!
Great job – will be putting my own polytunnel up in the next few months! I hope it looks as good as yours!
Thanks Emma. Best advice is read the instructions, watch the videos, drink plenty of tea and take your time – or – outsource it;)
Your polytunnel looks amazing – well done for getting it up. Hope it brings you fabulous crops this year – I’d love one on my allotment, maybe next year 🙂
Thank you. The green tunnels are pretty good for a year or two, although I saw replacement covers being sold in the garden centre.
Great job! Perhaps one day for us…